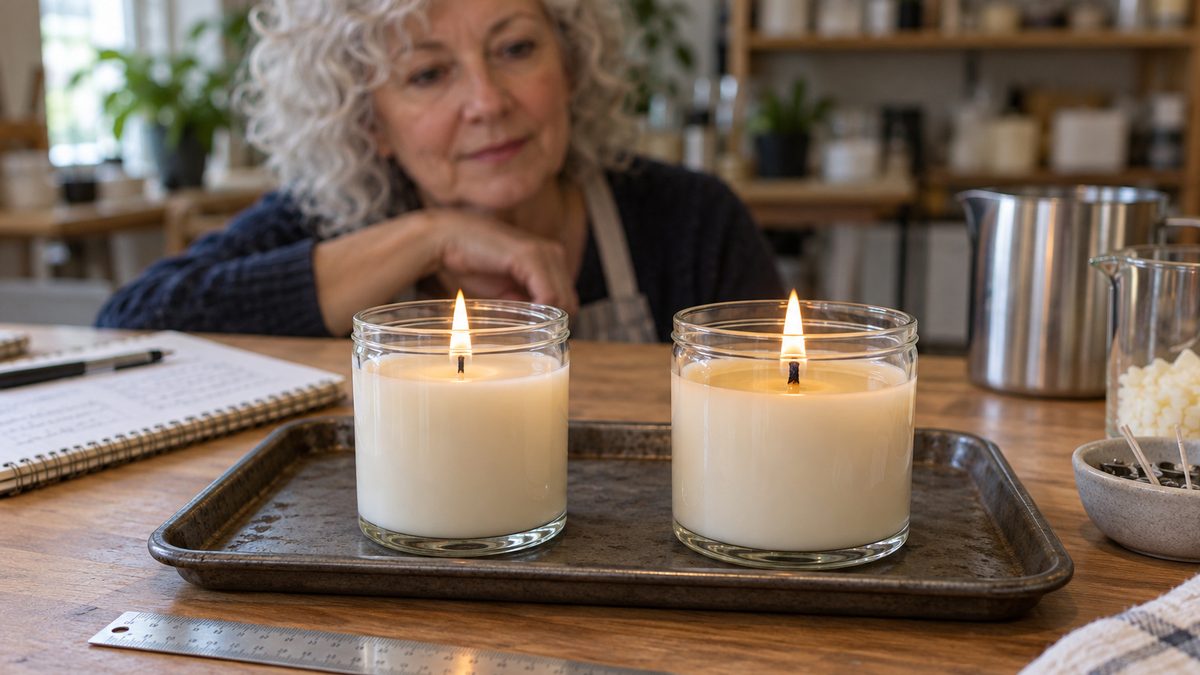
Few things are as deflating as a candle that poured beautifully and set with a crater beside the wick, a crack across the top, or a surface like cottage cheese. Most of the time the candle will still burn perfectly well, but it isn’t one you want to put in a photo or hand to a customer. The good news is that these are some of the best understood problems in candle making, and the big suppliers publish clear advice on each of them.
The trouble is that the advice gets passed around in shortened form, and a few half-truths have stuck. This guide takes the most common beliefs one at a time, sets each against what CandleScience and Fillmore Container actually say, and works out how much wax to keep back for a second pour, using our own calculators, for a pillar and for a batch of jars.
First, what you are looking at
It helps to separate two problems that often get lumped together, because their fixes pull in different directions. Sinkholes and cracks are holes or splits in the top of the candle. Fillmore Container describes them as thin or thick cracks around the wick or out to the edge, or small holes next to the wick, and both suppliers trace them to the same two things: wax shrinking as it cools, and air trapped in the wax that leaves a void once the wax around it hardens. They often go deeper than they look from above.
Rough or bumpy tops are different. The whole surface is uneven, lumpy or pitted, but there is no single hole. CandleScience puts this down to air escaping out of the top surface as the wax sets, and Fillmore calls rough surfaces mostly cosmetic, saying they shouldn’t change how the candle performs. The candle troubleshooter lists both, with causes and fixes in order, if you want the short version before reading on.
Myth: a sinkhole means you bought a bad batch of wax
Fact: Wax shrinks as it cools. That is normal, and for pillars it is even useful. CandleScience’s pillar tutorial explains that pillar wax shrinks so that it releases easily from the mold, and that this can leave cracks or deep sinkholes in the center, which it calls “very common, especially with paraffin waxes.” In container candles the shrinking is smaller, but it is still there. CandleScience’s soy troubleshooting guide says that a very thin crack in a circle about an inch from the wick is common, caused by slight shrinkage plus tiny air bubbles at the bottom of the jar, and that most people won’t notice it and it does not affect the burn.
Fillmore names the cause for containers as pouring or cooling temperatures dropping too sharply, so the wax contracts quickly, along with air bubbles or voids. So a sinkhole usually tells you something about how the candle cooled, not about the wax itself. Before you blame the supplier, look at the room, the jars and the pour.
Myth: pouring hotter always gives you a smoother top
Fact: It depends on which of the two problems you have, and the advice for each runs in opposite directions. For cracks and sinkholes, Fillmore’s list of remedies includes reducing the pour temperature, so that there is less heat to lose and less shrinking as the wax sets. For rough tops, Fillmore suggests the opposite: if your pour temperature might not be high enough, try pouring 5 to 10°F above the manufacturer’s recommended temperature.
CandleScience takes a middle path, suggesting you adjust the pour temperature by plus or minus 5 degrees and test, because the right figure depends on your own workspace. Both suppliers keep these changes small and close to the wax’s published range. Start from your own supplier’s pour temperature on our wax specs page, move a few degrees in the direction your problem calls for, and pour a test candle before you change a whole batch.
Myth: if the wax temperature is right, the room doesn’t matter
Fact: The room is where most of these problems start. Fillmore’s advice for both sinkholes and rough tops is mostly about the surroundings rather than the pot. Its first remedy is to bring jars at least up to room temperature before pouring, and for rough tops it suggests warming them to as much as 90 to 100°F, so that the hot wax is not hitting cold glass. Its general recommendation for a pouring room is 68 to 72°F, with the note that the slower the cool, the better.
How the candles sit while they cool matters too. CandleScience suggests setting them on a wire cooling rack, because a solid surface pulls heat out of the bottom of the jar and makes it cool too fast. Fillmore suggests baking trays on a rack, or corrugated cardboard, for the same reason: air reaching every side of the candle evens out the cooling. A cold stone counter, a window left open or a fan blowing across the table all cool one side of the candle faster than the other, which is exactly what you are trying to avoid.
Myth: stirring harder blends the oil in better
Fact: Stir for as long as your supplier says, but gently. Fillmore lists over-stirring as a way to create air bubbles that then try to escape as the candle sets, and trapped air escaping is one cause of both holes and rough tops. If you suspect air got in, both suppliers suggest the same simple fix: gently tap the container on your work surface right after pouring, or poke a stirrer into the wax, to let the bubbles out while the wax is still liquid. CandleScience adds a sensible warning about the tapping, which is to be gentle so you don’t crack the glass.
Myth: if the top looks fine, the candle is fine
Fact: A smooth top can hide a hole. Fillmore describes sinkholes as small holes next to the wick and cracks that can run from the wick to the edge, and a thin skin of wax can set over a void like that. For a candle you are going to sell, a small dimple or a hairline crack running toward the wick is worth a closer look. Poke the spot gently with a skewer. If it gives way into an empty pocket, the candle needs a second pour, not just a cosmetic touch-up, because a void near the wick can change how the first few burns behave.
Myth: a heat gun fixes every top problem
Fact: A heat gun fixes the surface, and suppliers like it for exactly that. Fillmore lists remelting the top with a heat gun among its remedies for cracks and sinkholes, and says that for an occasional rough top, a heat gun “will be your best friend”, and that gently melting the affected surface should let it set smooth. CandleScience adds that it can take one or two passes.
What a heat gun can’t do is fill a deep hole underneath, because there isn’t enough melted wax in a thin top layer to fill a pocket that runs down beside the wick. For that you need more wax, which is where the second pour comes in. Keep the gun moving, warm only the top, keep it away from the wick so you don’t scorch it, and work on a heat-safe surface.
The second pour, worked through
Both suppliers describe the same basic method. Keep back some of the wax from your first pour, let the candle set until the holes have formed, poke the sinkhole a few times with a skewer to release trapped air, then reheat the reserved wax and pour a thin layer to fill the holes. For containers, CandleScience suggests reheating to your pouring temperature and pouring a layer about 1/8 inch deep. In its pillar tutorial it reheats the leftover wax to 5°F above the first pour (175°F after a 170°F pour) and stops when the liquid wax reaches the height of the cooled wax, warning that overfilling lets wax run down the gap between the candle and the mold and cause streaks.
The question nobody’s tutorial answers for your own mold or jar is how much wax to set aside. Here is how to work it out with our calculators.
A 3 × 4.5 inch pillar. Put a cylinder 3 inches across and 4.5 inches tall into the pillar and mold calculator. It works out about 521 ml inside, and at the usual 0.86 planning factor that is about 448 g (15.8 oz) of finished candle. At a 6% fragrance load measured against the wax, that splits into about 423 g of wax and 25 g of oil. The calculator suggests keeping 10 to 15% of the melted wax back for the second pour, which for this one pillar is about 45 to 67 g (1.6 to 2.4 oz).
It is reassuring to set that beside CandleScience’s own tutorial, which uses the same 3 × 4.5 inch mold. It melts 447 g of wax and adds 28 g of oil, about 475 g in all. That is roughly 27 g more than the calculated fill, or about 6% extra, which is the wax it keeps for topping off. So a large supplier’s real recipe sits at the low end of our range. If you pour tall paraffin pillars, which shrink the most, aim nearer the top of the range. If you pour short or blended pillars, the lower figure is usually enough.
A batch of 12 container candles. Jars need much less, because a container top-up is only a thin layer. Say you pour twelve straight-sided jars that are 3 inches across inside. A layer 1/8 inch deep is a cylinder 3 inches wide and 0.125 inches tall, and the pillar calculator turns that into about 14.5 ml, or about 12.5 g (0.44 oz) of wax per jar. Twelve jars need about 149 g, roughly 5.3 oz, so keeping back 6 oz covers the batch with a little to spare for the wax that clings to the pitcher.
Pour your top-up wax from the same melted batch, with the same oil and dye in it, and set it aside before you start filling. A second pour of plain or freshly mixed wax can set a slightly different color or scent band at the top of the candle. If you end up with reserve left over, pour it into a test jar or a few wax melts rather than throwing it away.
If you have already poured and kept nothing back, both suppliers give you a way out. CandleScience says that without leftover wax you can use a heat gun to melt the surface and fill the holes, which works for shallow ones. For a deep hole in a container, melting a little fresh wax with the same fragrance load is the fallback, accepting that the color may not match perfectly.
When to stop worrying
If the top is a little uneven, there is no hole, no crack runs to the wick, and the candle passed its burn test, you are looking at a cosmetic issue. CandleScience calls rough tops common even for experienced candle makers, and Fillmore notes that some roughness is sometimes unavoidable, since certain fragrance oils and additives make some candles less smooth than others. For a recipe you love, a quick pass with the heat gun may simply be part of your routine. Rough tops that only appear after a soy candle has been burned are another matter again: CandleScience describes them as a common trait of all soy waxes, caused by the melt pool cooling unevenly when the flame goes out, and nothing you did at pouring time causes them.
If you change something to fix the top, change one thing at a time. Warmer jars, a cooler pour and a slower cool all help, but if you change all three at once you won’t know which one did the work. Pour two candles from the same batch, change one thing for one of them, and compare, the same way we suggest in our guide to comparing two wick tests.
Honest limits
Everything here comes from the supplier pages listed below, and where the two suppliers differ, as they do on pour temperature, we have said so rather than picked a winner. Waxes behave differently: soy, coconut blends and paraffin each have their own pour ranges and shrink by different amounts, so the 10 to 15% reserve for pillars is a planning range, not a rule. The jar example assumes straight sides; a jar that flares out at the top needs a little more wax for the same 1/8 inch layer. Always start from your own wax supplier’s instructions.
Sources
- CandleScience: how to make a pillar candle, for pillar shrinkage, the 3 × 4.5 inch recipe and the optional second pour
- CandleScience: soy wax troubleshooting guide, for the common crack near the wick, cooling racks, the ±5° pour adjustment the 1/8 inch top-up layer and the heat gun passes
- Fillmore Container: soy wax troubleshooting guide, for causes and remedies for cracks and sinkholes
- Fillmore Container: how to get smooth tops on your candles, for rough top causes, vessel warming, the 68 to 72°F room, the pour temperature adjustment and the heat gun