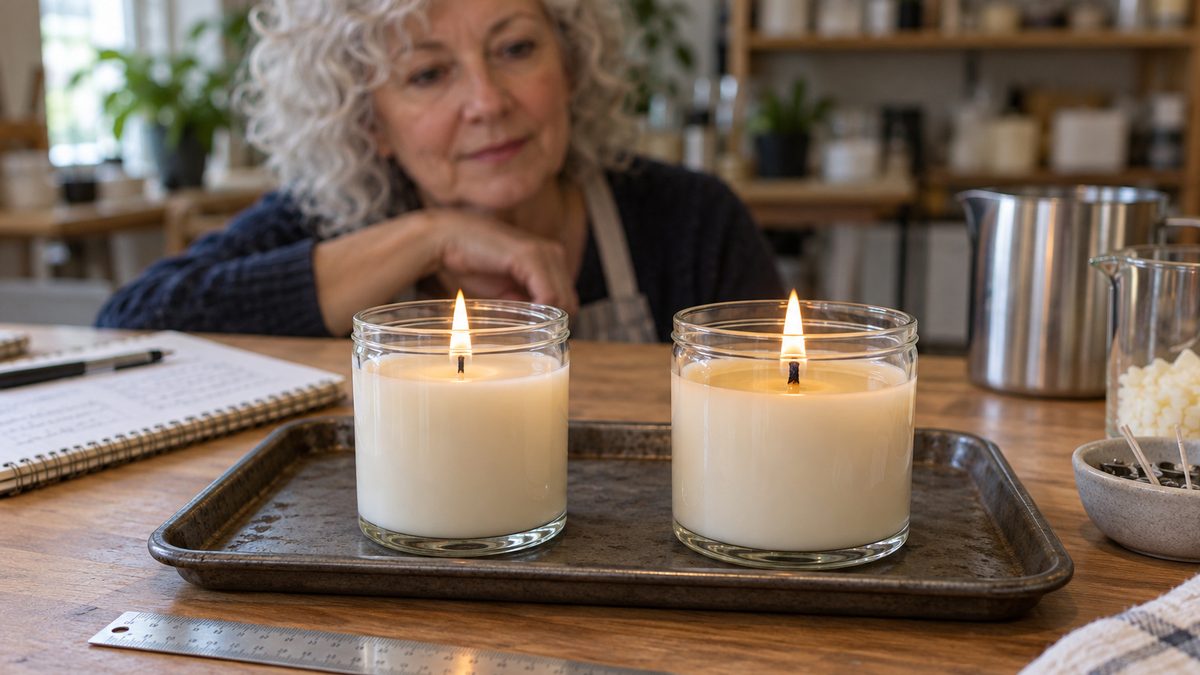
Tunneling is when the wick burns straight down the middle of a candle and leaves a wall of solid wax around the sides. CandleScience calls it typically a sign that the wick is too small for the combination of wax, container, fragrance and dye, but it also notes that a wick that is too powerful can burn down before it reaches a full melt pool. So the fix for the next pour is not automatically a bigger wick. It is a short diagnosis, then a small, fair retest where the wick is the only thing that changes.
Is a ring of wax after the first burn already tunneling?
Not on its own. A photo of a candle tells you nothing about how long it burned or which burn it was, and those two facts decide what the ring means. CandleScience’s burn test method says plainly that a little wax hang-up is completely normal and usually melts down with future burns. Its line for concern comes later: if a ring of unmelted wax or heavy hang-up is still there after the fourth burn cycle, wicking up may be needed.
That is why the first useful step is to write down what you actually saw rather than naming the problem. “Wax stayed on the left side after a two-hour first burn” is a note you can use. “Bad wick” is a conclusion you have not earned yet. An even ring all the way round points to a different cause than wax left on one side only, which can come from a wick that is off centre or a draft pushing the flame. The candle troubleshooter lists those causes in the order worth checking, and a photo from the same angle after each session lets you see whether the wall is shrinking or growing.
If it really is tunneling, should you wick up?
Often, but read the flame before you decide. A small, quiet flame with a narrow, shallow pool and a wall that gets taller burn after burn is the classic undersized wick. A large flame with a deep pool that still never reaches the glass is a different picture, and CandleScience’s note about overpowered wicks covers it. Its advice is to test up or down one or even two sizes within the wick series you are already using, depending on how much wax is left on the sides.
Stay inside one series while you do it. CandleScience explains that wick numbers cannot be compared between series, so moving from a CD to an ECO or LX wick is a new experiment, not a step up or down. Start from your supplier’s chart for your exact wax and jar width, which our wick size chart lays out for seven popular waxes, and write down the series, size and supplier for every jar. “Medium wick” will not let you repeat a batch six months later.
What a fair retest looks like
Here is a worked example of planning one. Say your chart pick for the jar was a CD 18 and the candle tunneled. The wick test planner puts the next sizes either side of it in the CD series, so the test is a CD 16, a CD 18 and a CD 20. If you pour two jars of each, you have six test candles, and the only planned difference between them is the wick size. The jar, fill weight, wax, fragrance oil and load, dye, pour temperature and cure time all stay the same.
Two jars per size is a resource choice, not a rule. One candle per size uses less wax but can’t show you whether two jars with the same wick behave alike, while a third repeat costs more wax and more supervised hours. Decide how many candles you can actually watch before you pour. Neutral labels help, too. Marking the jars A1, A2, B1, B2, C1 and C2 keeps you from reading “the winner” into a jar because of what you expected.
How much wax and oil the retest needs
Suppose each test candle is filled to 200 g and the fragrance load is 8% of the wax weight, the way most US wax suppliers write it. Six candles hold 6 × 200 = 1,200 g of finished candle. Because the oil goes in on top of the wax, the wax is the total divided by 1.08: 1,200 ÷ 1.08 = 1,111.1 g of wax, and the oil is the rest, 88.9 g. As a check, 88.9 is 8% of 1,111.1. Taking 8% of the full 1,200 g instead would give 96 g of oil and quietly change the recipe, which is exactly the kind of difference that ruins a comparison. The fragrance load calculator keeps the two readings apart.
Some wax always stays in the pitcher, so you may want a margin. If you add 5% to the batch, you melt 1,260 g of candle: 1,166.7 g of wax and 93.3 g of oil. The margin only covers what clings to the pitcher. Each jar is still filled to 200 g, and your own losses are worth weighing once rather than assuming 5% is enough.
Comparing the candles
Compare like with like: the same session and the same hour for every jar, never one candle’s first hour against another’s last. CandleScience’s method checks each candle every hour, puts every candle out after four hours, and gives it at least five hours to cool before the next session. At each check, note the melt pool width, flame height and steadiness, any soot, and whether the wick has stayed centred. Judge all of this by eye. Never touch or move a jar to check its heat, and let it cool completely before you handle it.
Run the test to the end rather than stopping at a good-looking second burn, because heat builds as the wax gets lower and a wick that looks right early can misbehave near the bottom. If anything looks wrong, such as a tall flame, smoke or heavy soot, put the candle out and record it. A useful conclusion is specific: “the two B jars disagreed, so B needs a repeat” tells you more than “B wins” on mixed evidence. If none of the three sizes gives a full pool without a large flame, that is a result too, and it usually means the next test should look at the series or the recipe rather than another number.
Why foil and heat guns don’t count
Advice for rescuing a tunneled candle, such as foil wrapped round the top or melting the wall flat, can make one candle look better. It tells you nothing about how a fresh candle from the same recipe will burn, so a rescued candle should never go into a comparison set. If you change the wick partway through a test, start a new, clearly labelled candle instead of carrying the old record forward.
When a customer reports tunneling, ask how long the first few burns lasted and for a photo of the cooled candle, and keep their account apart from your own test notes. Short first burns are one possible cause, not something to assume. If the report mentions a large flame, smoke or a damaged jar, the right answer is to stop using the candle. The National Candle Association’s safety advice applies to any candle: never leave it burning unattended, don’t touch or move it until the wax has cooled, and stop burning it when about half an inch of wax is left.
Honest limits
The six candles above are a worked example to show the planning and the arithmetic, not results from a real batch. A supplier chart is a starting point, and whatever a retest shows applies to that recipe in that jar, not to every candle sold under the same size. A planning sheet can keep a test fair and catch maths mistakes, but only a full burn test of your own candle can tell you whether it burns well.
Sources
- CandleScience: what is tunneling and how do I fix it? (undersized wick as the usual cause, overpowered wick as a possible one, test one or two sizes up or down within a series; checked 2026-11-16)
- CandleScience: how to conduct a basic burn test (hourly checks, four-hour sessions, at least five hours to cool, early hang-up is normal, a ring after the fourth burn may mean wicking up; checked 2026-11-16)
- CandleScience: choosing the right wick size (wick numbers are not comparable between series)
- National Candle Association: candle safety tips (never unattended, don’t touch or move until cooled, stop with half an inch of wax left)